Turbo flange studs

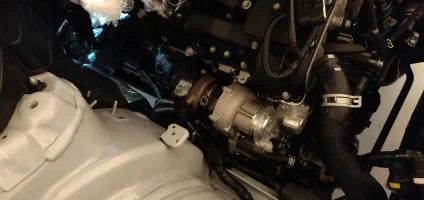
The reason why I'm pulling the turbo is because I can't tap the threads while it's in there, the turbo flange is really hard, along with there being very little room.
Why would you need to tap the threads - isn't your replacement stud the same size?
 
Why would you need to tap the threads - isn't your replacement stud the same size?

Same size, but the threads are too rough to totally be able to thread them all in by hand. Hoping I can just chase the threads down with a tap and screw in the new studs.
 
Be careful not to break the tap.
Once the threads are cleaned up you could put the turbo in the oven and stud in the freezer. Might help you get it started before the temps equalize (worked for me when rebuilding my Jeep's SM465 and I didn't have a press for the input shaft bushings)
 
______________________________
Be careful not to break the tap.
Once the threads are cleaned up you could put the turbo in the oven and stud in the freezer. Might help you get it started before the temps equalize (worked for me when rebuilding my Jeep's SM465 and I didn't have a press for the input shaft bushings)

Forgot about that. I did that for an LSD install on one of my old Honda's back in the day. Made pressing the bearings on the diff very easy. May be worthwhile if I run into problems. Thanks man!
 
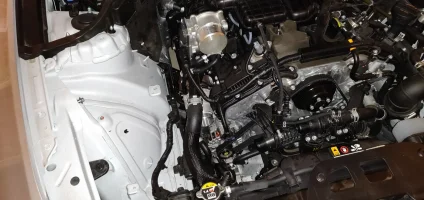
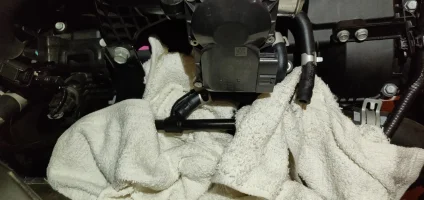
All coolant lines out of the way...

IMG_20190906_082456.webp


Next are the turbo oil lines. The bottom drain line will be a challenge.

IMG_20190906_082806.webp

Zyro told me he was able to get it from under the car, using a long extension. Problem with this for me is my car is AWD, and I can't really see a way to access it from underneath because the front differential case and passenger side axle is in the way. Will look again more closely after work.
 
From interior to exterior to high performance - everything you need for your Stinger awaits you...
Oh don't worry, the stud is out. The dealership got it out. Vice grips weren't working, despite my custom cutting in the stud.

The reason why I'm pulling the turbo is because I can't tap the threads while it's in there, the turbo flange is really hard, along with there being very little room.

New studs are in hand.

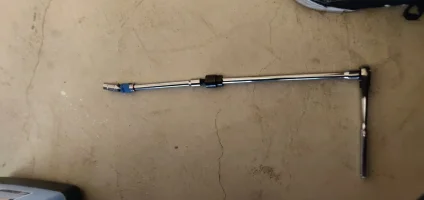
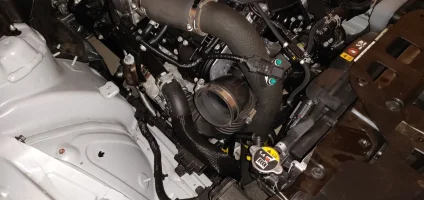
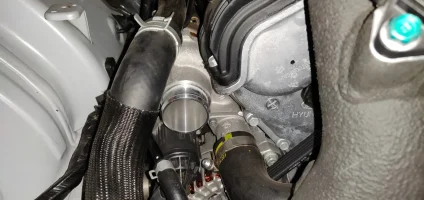
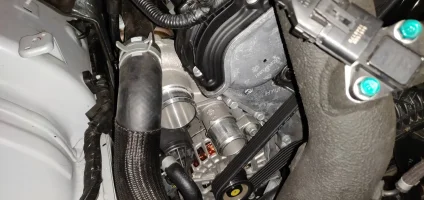
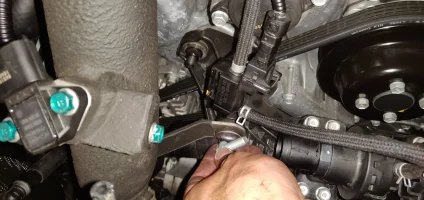
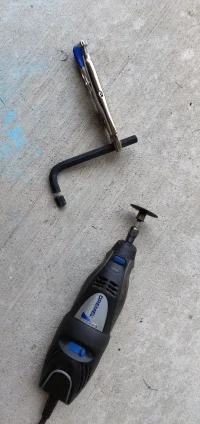
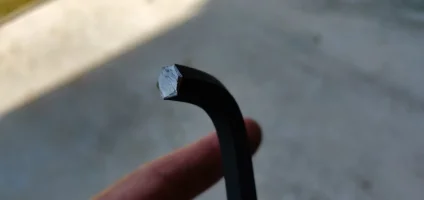
Also, just finished cutting down my hex wrench to reach both bolts for the coolant line on the turbo. Gonna pull the turbo coolant line after work in the morning.

View attachment 30728
View attachment 30727
View attachment 30726
View attachment 30725


@ZyroXZ2 - did you have to move the wiring harness at all to make room for the turbo to come out? Looks like it could get in the way..

Nope: I didn't remove any wiring harnesses mounted to the chassis. The turbo will move forward before you can lift it out, so while the wiring harness is reducing clearance, it can still come out.

I saw your other post about you being AWD which means the view from the bottom of the car up to the turbo's oil outlet flange is impeded, and that leaves only going from behind the turbo from above the car. You'll likely want to use a snake cam in that case and obviously position it so you can see under the turbo.
 
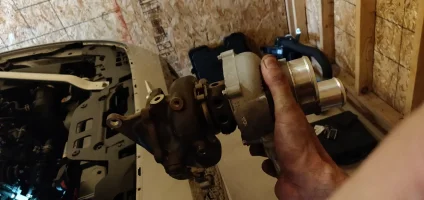
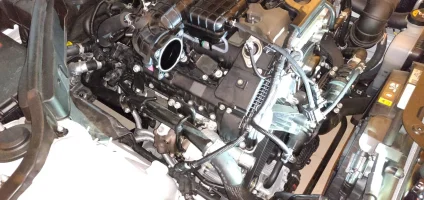
Turbo is out!!

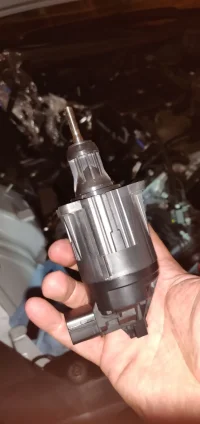
I removed the wastegate actuator to get enough clearance for it to come out, as I was having too much trouble with it on.

IMG_20190907_170109.webp


I think the hardest part was getting to the oil line drain bolts. I ended up being able to get at it from underneath, but it was a HUGE hassle. I used 2 u-joints, and a bunch of extensions. Like this...

IMG_20190907_161710.webp

It will be tough getting them back on, but I'll have to figure it out when I get there I suppose.
 
Really?! Maybe I'm better at 3D movement puzzles :laugh::rofl:

I also bet you're surprised at just how tiny the turbo is once you have it in your hands :sneaky:


Haha, that's gotta be it! Thanks for your help, man! It's much appreciated!

And yes, that thing is pretty small.

Do you think there's any problem since I removed the wastegate actuator? I'll have to look at it again, but I almost think that the big barrel nut has to be tightened down to a certain spot on that threaded rod...

IMG_20190907_161633.webp
IMG_20190907_170036.webp
 
Haha, that's gotta be it! Thanks for your help, man! It's much appreciated!

And yes, that thing is pretty small.

Do you think there's any problem since I removed the wastegate actuator? I'll have to look at it again, but I almost think that the big barrel nut has to be tightened down to a certain spot on that threaded rod...

View attachment 30845
View attachment 30844

Yes, it does. But it was marked from the factory with yellow chalk. You just have to line it back up, again.
 
______________________________
From interior to exterior to high performance - everything you need for your Stinger awaits you...
OP, reading this the only thought running through my head was trying to explain to the wife how a few hundred dollar DP is going to cost me either thousands or hours and hours of downtime of a new car. I feel all the pain your going though.
 
OP, reading this the only thought running through my head was trying to explain to the wife how a few hundred dollar DP is going to cost me either thousands or hours and hours of downtime of a new car. I feel all the pain your going though.


Thanks man, I really appreciate the sympathy! This has been very stressful, though I've been extremely fortunate that my wife is patient with me, and understands that I feel devastated about everything.

I ordered a new turbo online. Just waiting for it to come and so I can reinstall everything.

When I'm done I'll put up a few posts describing all of the steps in detail of what I did, tons of pics included. Hopefully this will be helpful for someone who needs to pull their turbo(s) as well!
 
So, when attempting to install some aftermarket downpipes, I ended up accidentally breaking one of my turbo downpipe studs. Looks like this... (zoom in to see it, snapped stud on the bottom)

View attachment 30627


I could not, for the life of me, get it out despite my best efforts. A major part of the difficulty is the lack of room to work in there. After a couple days, I gave up and had it towed to my local dealer ship. Eventually they were able to get the stud out - BUT, now they say they can't put the new studs in. They tried trapping it, but the material is just too hard, and they simply cannot get the new OEM studs back in. They told me they will have to replace the turbo. I'm okay with that, because it was a nightmare to work on that area, and if they can't do it, I know I can't...

Here's the problem, though. In order to replace the turbo they have to pull the engine out. They said they need a special bench/stand to put the engine on while it's out, and they don't have this part. The service manager told me they would have to buy this part, and it costs $5,800. Add in labor ($4,500), and a new turbo ($1,500), and I'm in over $11k...

So my question is this. Has anything like this happened to anyone on their Stinger or G70? (Mine is a G70). Anybody installed primary downpipes and run into something similar? If so......do you know of any shops in the greater Portland area that might be of help?


Any thoughts would be greatly appreciated.
I am actually in the process of have one turbo replaced and they quoted 2k before they agreed to cover it.
 
Just an update - the cost to replace the turbo @ the dealership was $2400 and about 1 week of repairs.
 
From interior to exterior to high performance - everything you need for your Stinger awaits you...
______________________________
That's a lot less than what my dealer wanted to charge me. *Shakes head*

My car is almost back together with the new turbo in. I don't have much free time to work on it. Once it's done I'll post a thorough how-to of it.
 
Okay everyone, I finished everything with a brand new turbo installed. Everything is working perfectly! I ended up replacing the turbo, even though the machine shop was able to fix the old turbo's threads - I figured I'd just get a brand new turbo because the threads weren't perfect. This wasn't necessary, but it's a brand new car, so I figured I would feel better putting in a new turbo for this job.

Here is how to do it... (Genesis G70, but Stinger should be exactly the same).

Keep in mind I've already remove the downpipe, and turbo heat shield, so I'm not covering that in this thread (though I do cover the reinstall of those items at the end, obviously).

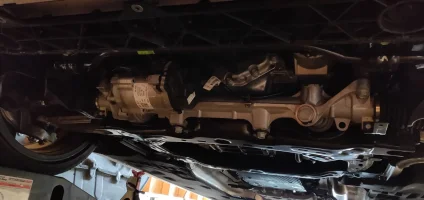
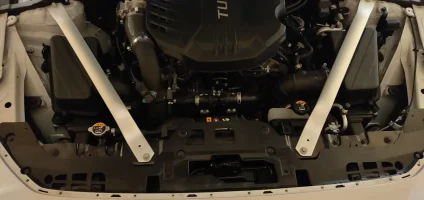
First, pop off the plastic rivets from the front engine bay/radiator top cover to get a little more room. Also remove the under engine splash guard panels. Then, drain the coolant...
IMG_20190904_190524.webp
IMG_20190904_190855.webp

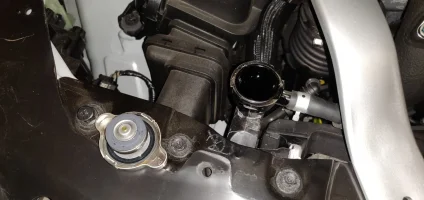
You can remove the radiator cap to help the coolant drain a tiny bit quicker...
IMG_20190904_191013.webp

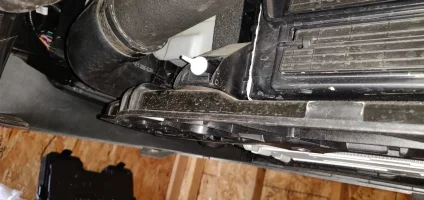
Locate the radiator drain plug/screw, and loosen it to start draining the coolant.
IMG_20190904_191112.webp
IMG_20190904_191159.webp

Next, remove the strut tower brace, factory airbox and turbo intake elbow...
IMG_20190904_191659.webp
IMG_20190904_191910.webp


Now you're ready to remove some of the hot side charge piping...
IMG_20190904_192153.webp
IMG_20190904_192457.webp
 
Last edited:
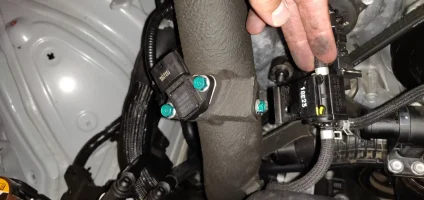
After this, you can start removing the cold side charge pipe. First, unbolt the little vacuum block and unplug your MAP sensor.
IMG_20190904_192959.webp

Remove the cold side charge pipe stay...
IMG_20190904_193344.webp

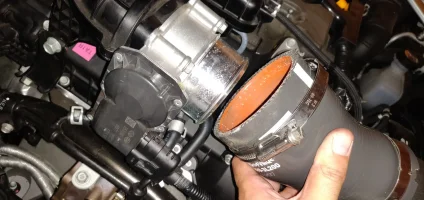
Disconnect the throttle body coupling.
IMG_20190904_193444.webp

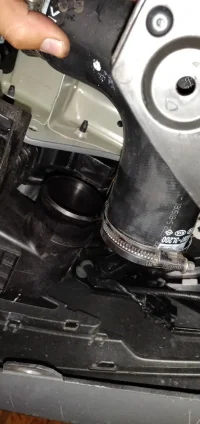
Now remove the cold side intercooler elbow/coupling...
IMG_20190904_193806.webp


Now remove the entire cold side charge pipe assembly, and you're left with this...
IMG_20190904_193904.webp


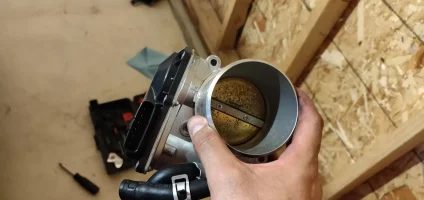
Next, you can remove the throttle body. Start by unclampling the 2 coolant lines connected to the TB and hard lower radiator coolant pipe.
IMG_20190904_194704.webp

Obviously make sure to unplug the TB wiring harness connector. Now you're ready to unbolt the TB, remove the 4 bolts holding it to the intake manifold, then pull off the throttle body.
IMG_20190904_194938.webp

Now you're ready to begin removing the turbo coolant lines.
IMG_20190904_195107.webp

Note that the turbo's coolant lines have large hex key bolts that have little room to work with, so I rigged up a low profile hex key like this...
IMG_20190905_132924.webp
IMG_20190905_132938.webp
 
From interior to exterior to high performance - everything you need for your Stinger awaits you...
Back
Top