So, we did know that there was a difference from photos and part numbers, it's just pretty difficult to get a hold of a non USDM crash beam here in the states to get a good look at. We have some contacts in AU that were kind enough to send us some details recently on what all needs to be trimmed and how, just to make sure we weren't instructing you to chop off anything critical.
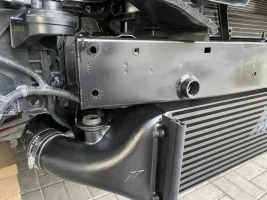
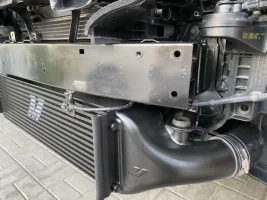
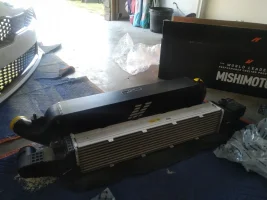
Also, I was able to do another weigh-in on our intercooler and confirming that the 31lbs. spec is correct. It's hard to pinpoint the reason for the discrepancy, and again, I apologize that it happened, but thanks for bringing it to our attention so that we can get it updated ASAP.
View attachment 51431
Also, just as a heads up for those of you in Australia, our blow-off valve adaptor is now in stock and ready to ship in that region!
Thanks,
Nick


") im excited
im excited