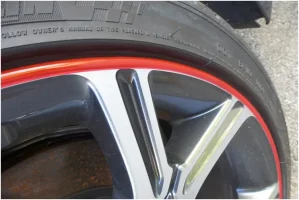
All you all make it sound/look so easy.
You have a point. Oftentimes you see a product and the installation instructions are rather rudimentary. But that does not mean you have to look over the installers shoulder in order to learn.
If you have paint tape used successfully and are able to follow and tape a given line cleanly, you can do this one.
This is how I did it:
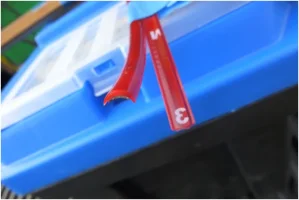
Because the material comes coiled up, I wanted to straighten and relax it first.
For 19” wheels, I cut 4 pieces of 165cm/65” length.
Taped the pieces to some suitable wood trim pieces with blue painter’s tape.
Put it in a warm place for a few days, until considered ready for installation.
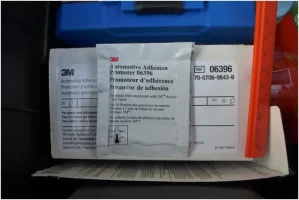
When ready I wiped the rims with isopropyl alcohol and followed that with a wipe of 3M
Adhesion Promoter #06396. I got a box of this stuff from an automotive supply house. Maybe a body shop will sell a couple of pouches. One pouch should suffice, two is plenty.
I started by undercutting the starting end at an angle.
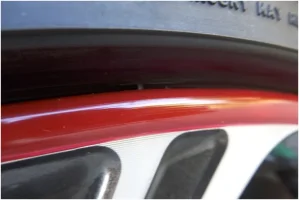
Then observing and following the machining ridges on the rim, I touched down the end and continued by pressing the remaining material without stretching it onto the rim following the same ridge on the rim previously selected.
I found it convenient to apply the rim protector counter-clockwise.
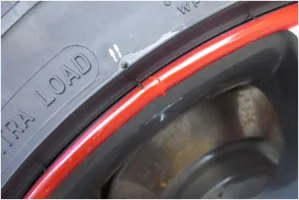
When I reached the starting point I eased up on sticking down and measured to the opposite end, cutting it about 1mmm / 1/32” longer maintaining the same angle.
I then lifted the loose end under the starting end and massage the material down onto the rim.
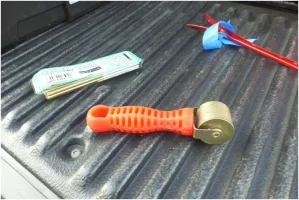
I had a metal roller handy, which I used pressing down on the material, avoiding any stretch, following up with a rub down using a microfiber cloth.
