I got around to doing all my grab handle backing plates yesterday. They are now dead quiet. Figured I’d add some comments and photos to hopefully help the next person.
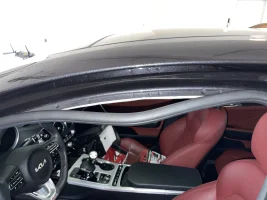
First, I didn’t remove the scuff and B pillar trim pieces. Instead, I pulled back the body seal enough to where I could pull the headliner down slightly and put a hand underneath it. It has enough flex to allow this and also not cause it to deform.
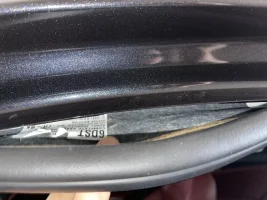
The next couple photos are of the front, driver side grab handle backing plate with the cloth tape
@Snowwhite recommended. I went around each end twice with the tape and poked a hole where the grab handle screw goes through. They do have a specific orientation; on the drivers side the end with the arrow and “in” stamped went towards the windshield and the end with the “#2” went towards the rear of the car with this entire side facing up towards the roof. The calendar of manufacturing dates went facing down toward the floor. I found the orientation reversed for the passenger side; arrow and in faced the rear and #2 faced the front with the calendar still facing down.
Next photo is of the backing plate with tape behind the headliner. You can see the holes I poked. Then photos with grab handle and body seal reinstalled.
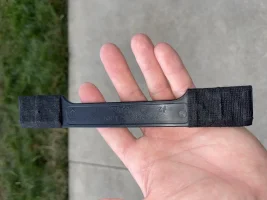
Finally, a photo of the pick tool I used from my cheapy radio shack soldering kit. I used this to fish my backing plate with tape back into position behind the headliner. Kinda hard to explain, but, you can enter through the headliner holes, grab onto the hole in the taped backing plate and slide it into alignment. Then it’s just a #2 Phillips to screw in your grab handle screws and you’re done.