
Paladin611
Active Member
I have been focusing on aesthetic mods this year. Next year will be performance based mods, including JB4. One of the several things I have done so far this year concerning my projects, is to remove the rear Kia trunk badge and replace with the 14” Kia cursive badge. Well, the Kia badge came off fairly easily with the use of a heat gun and two flattening cards used for vinyl stripe installations.
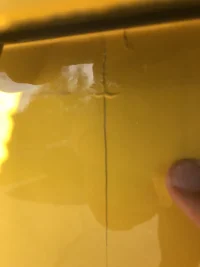
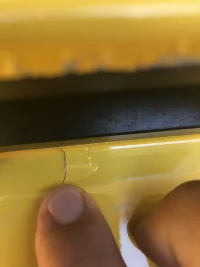
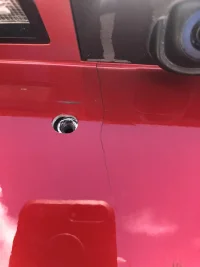
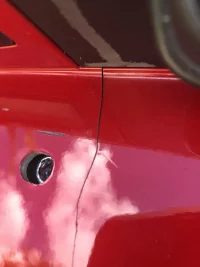
The problem was found to be in the removal of the excessive glue left behind. Even removing this glue with care and bit of citrus based glue remover- two slight, minuscule cuts were inadvertently made on the paint and exposed the metal. Extremely disgusted, using the crappy Kia paint pen did not result to anything I want to be advertising on my trunk door. I’d rather have the old, NA Kia badge, than damaged paint.
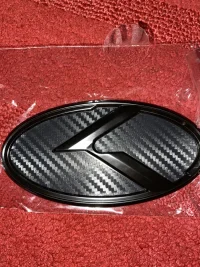
I found the solution to be to either vinyl wrap part of the trunk with black vinyl (nice contrast with yellow), or, what I actually settled for- a carbon fiber K-lexus badge. Yes, It’ll be a cover up for now. But the damage will be permanently hidden, and the new, black carbon fiber badge matches my carbon fiber spoiler, and makes an awesome contrast with the Sunset Yellow. All I have to know is that the day the new badge comes off, I need to be prepared for a new paint job to my trunk door. The badge will be on for a little while.
The problem was found to be in the removal of the excessive glue left behind. Even removing this glue with care and bit of citrus based glue remover- two slight, minuscule cuts were inadvertently made on the paint and exposed the metal. Extremely disgusted, using the crappy Kia paint pen did not result to anything I want to be advertising on my trunk door. I’d rather have the old, NA Kia badge, than damaged paint.
I found the solution to be to either vinyl wrap part of the trunk with black vinyl (nice contrast with yellow), or, what I actually settled for- a carbon fiber K-lexus badge. Yes, It’ll be a cover up for now. But the damage will be permanently hidden, and the new, black carbon fiber badge matches my carbon fiber spoiler, and makes an awesome contrast with the Sunset Yellow. All I have to know is that the day the new badge comes off, I need to be prepared for a new paint job to my trunk door. The badge will be on for a little while.
Last edited:


")


